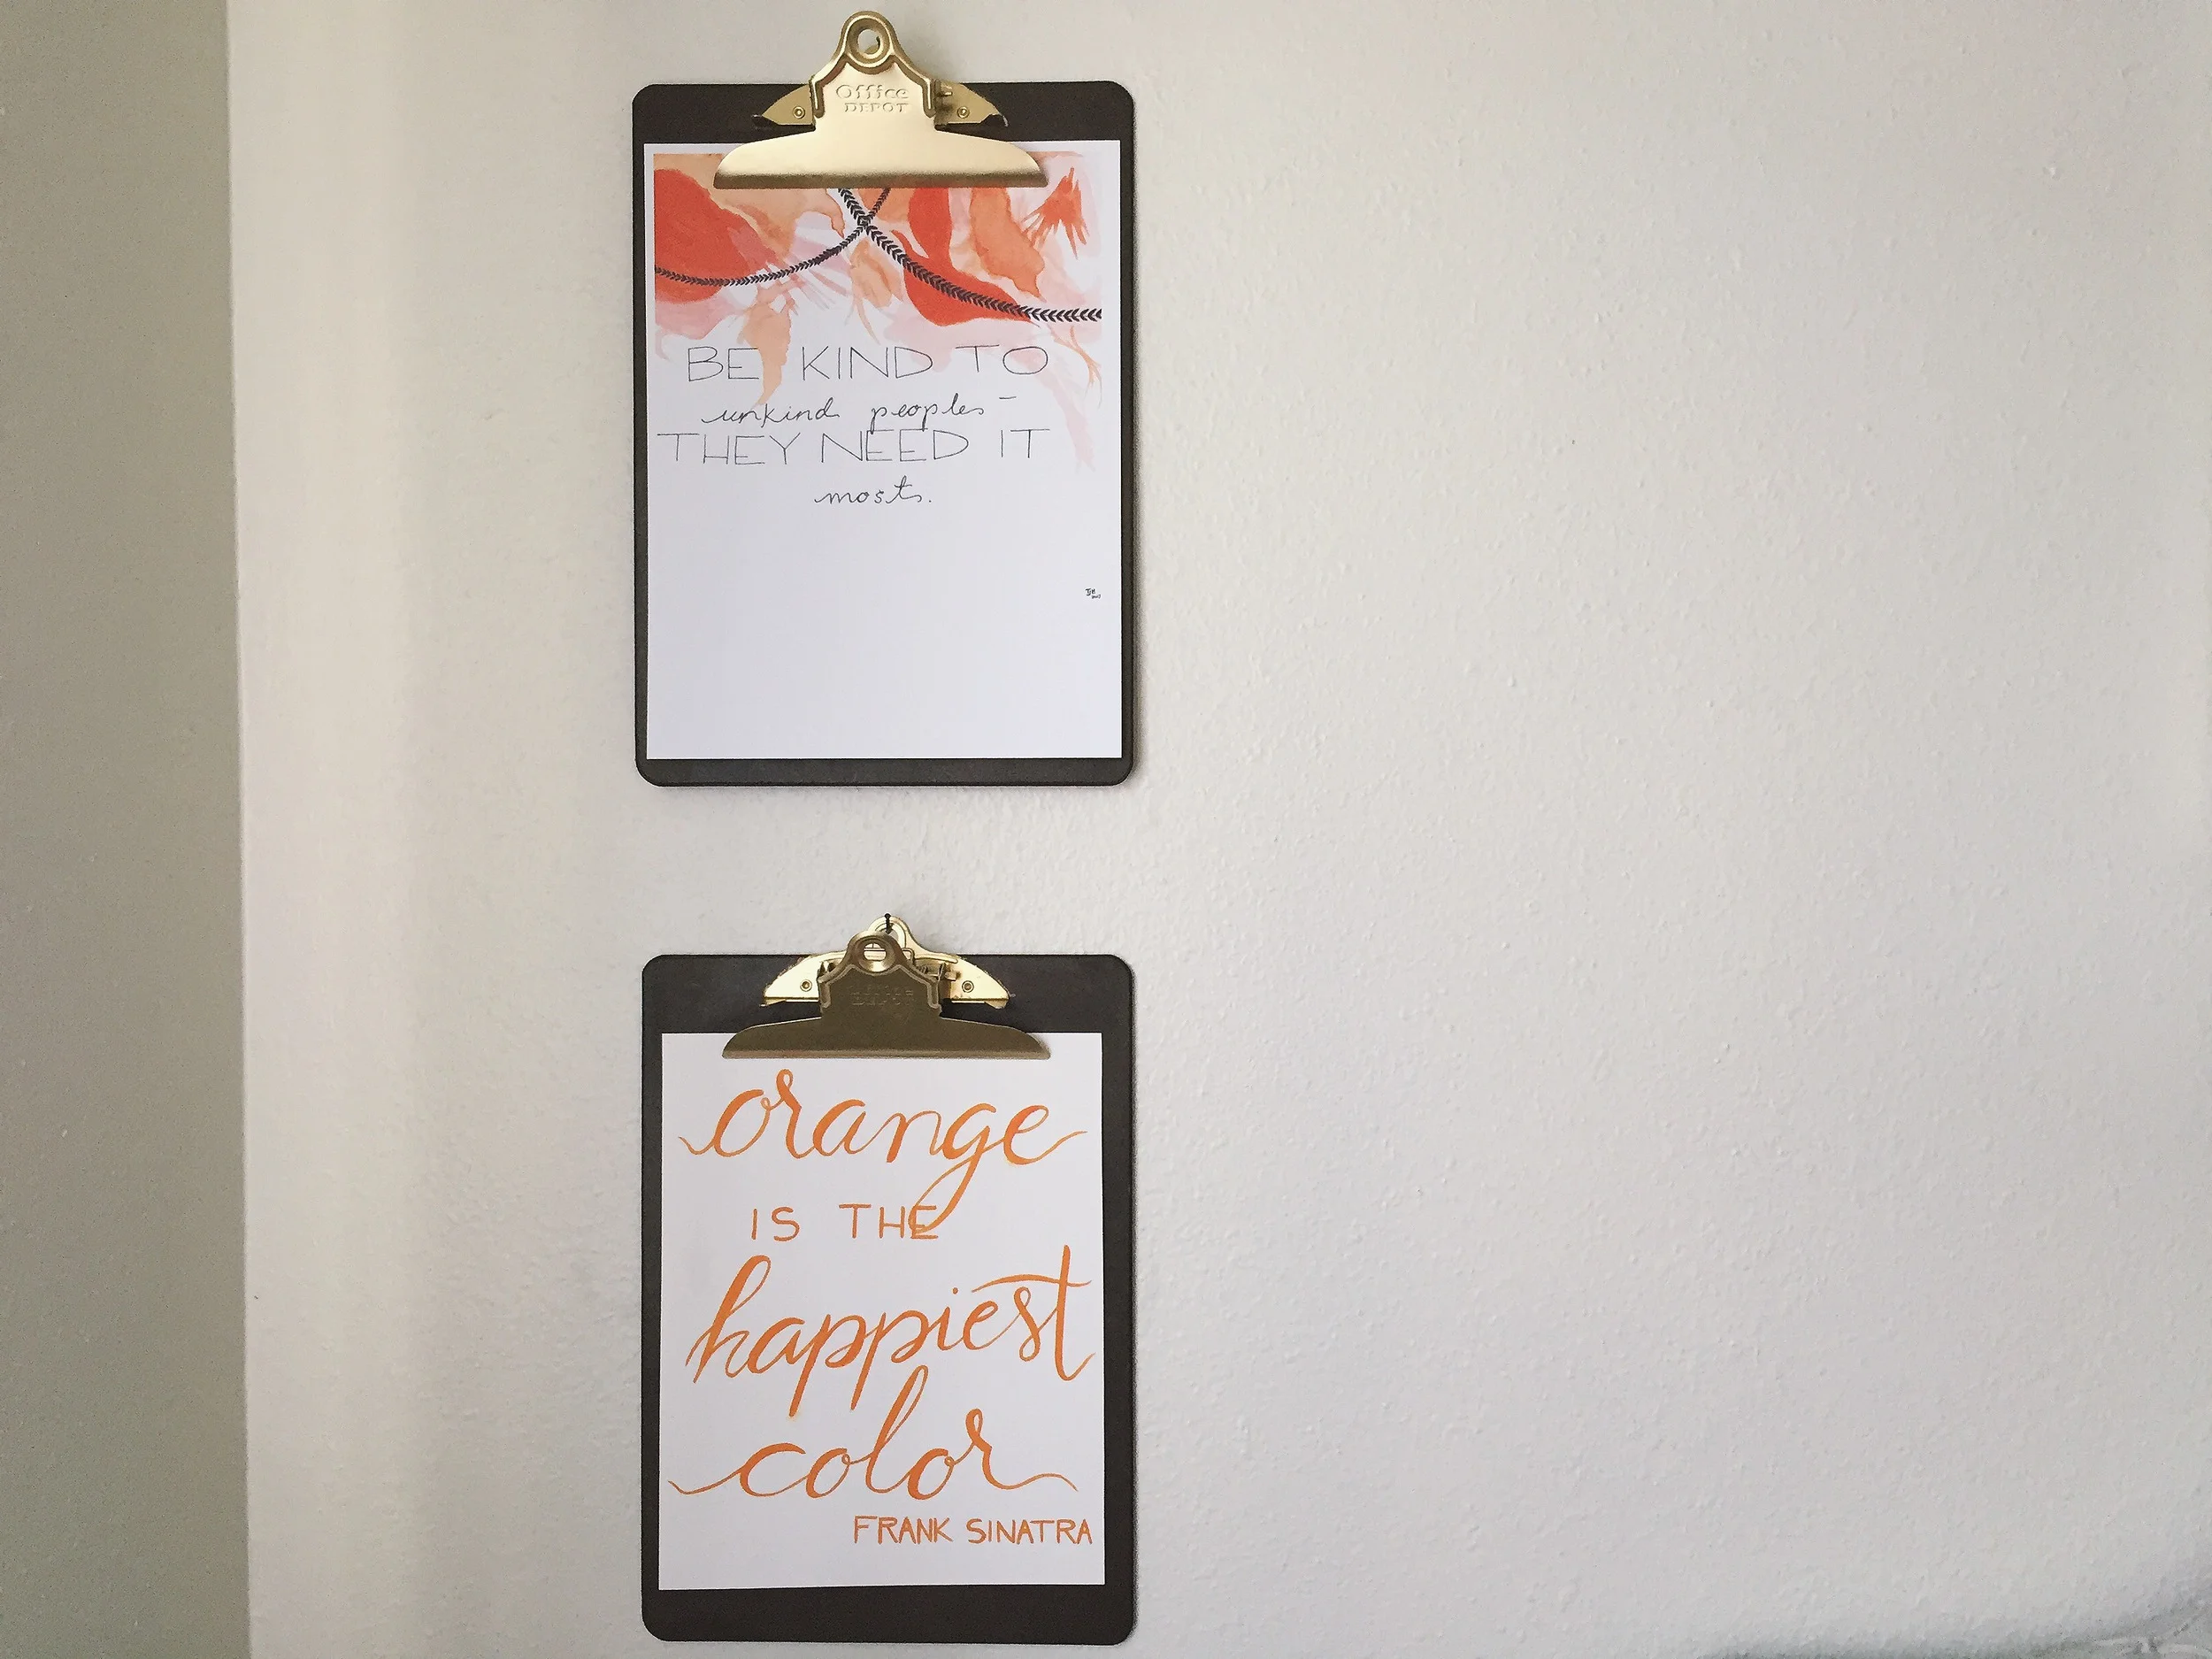
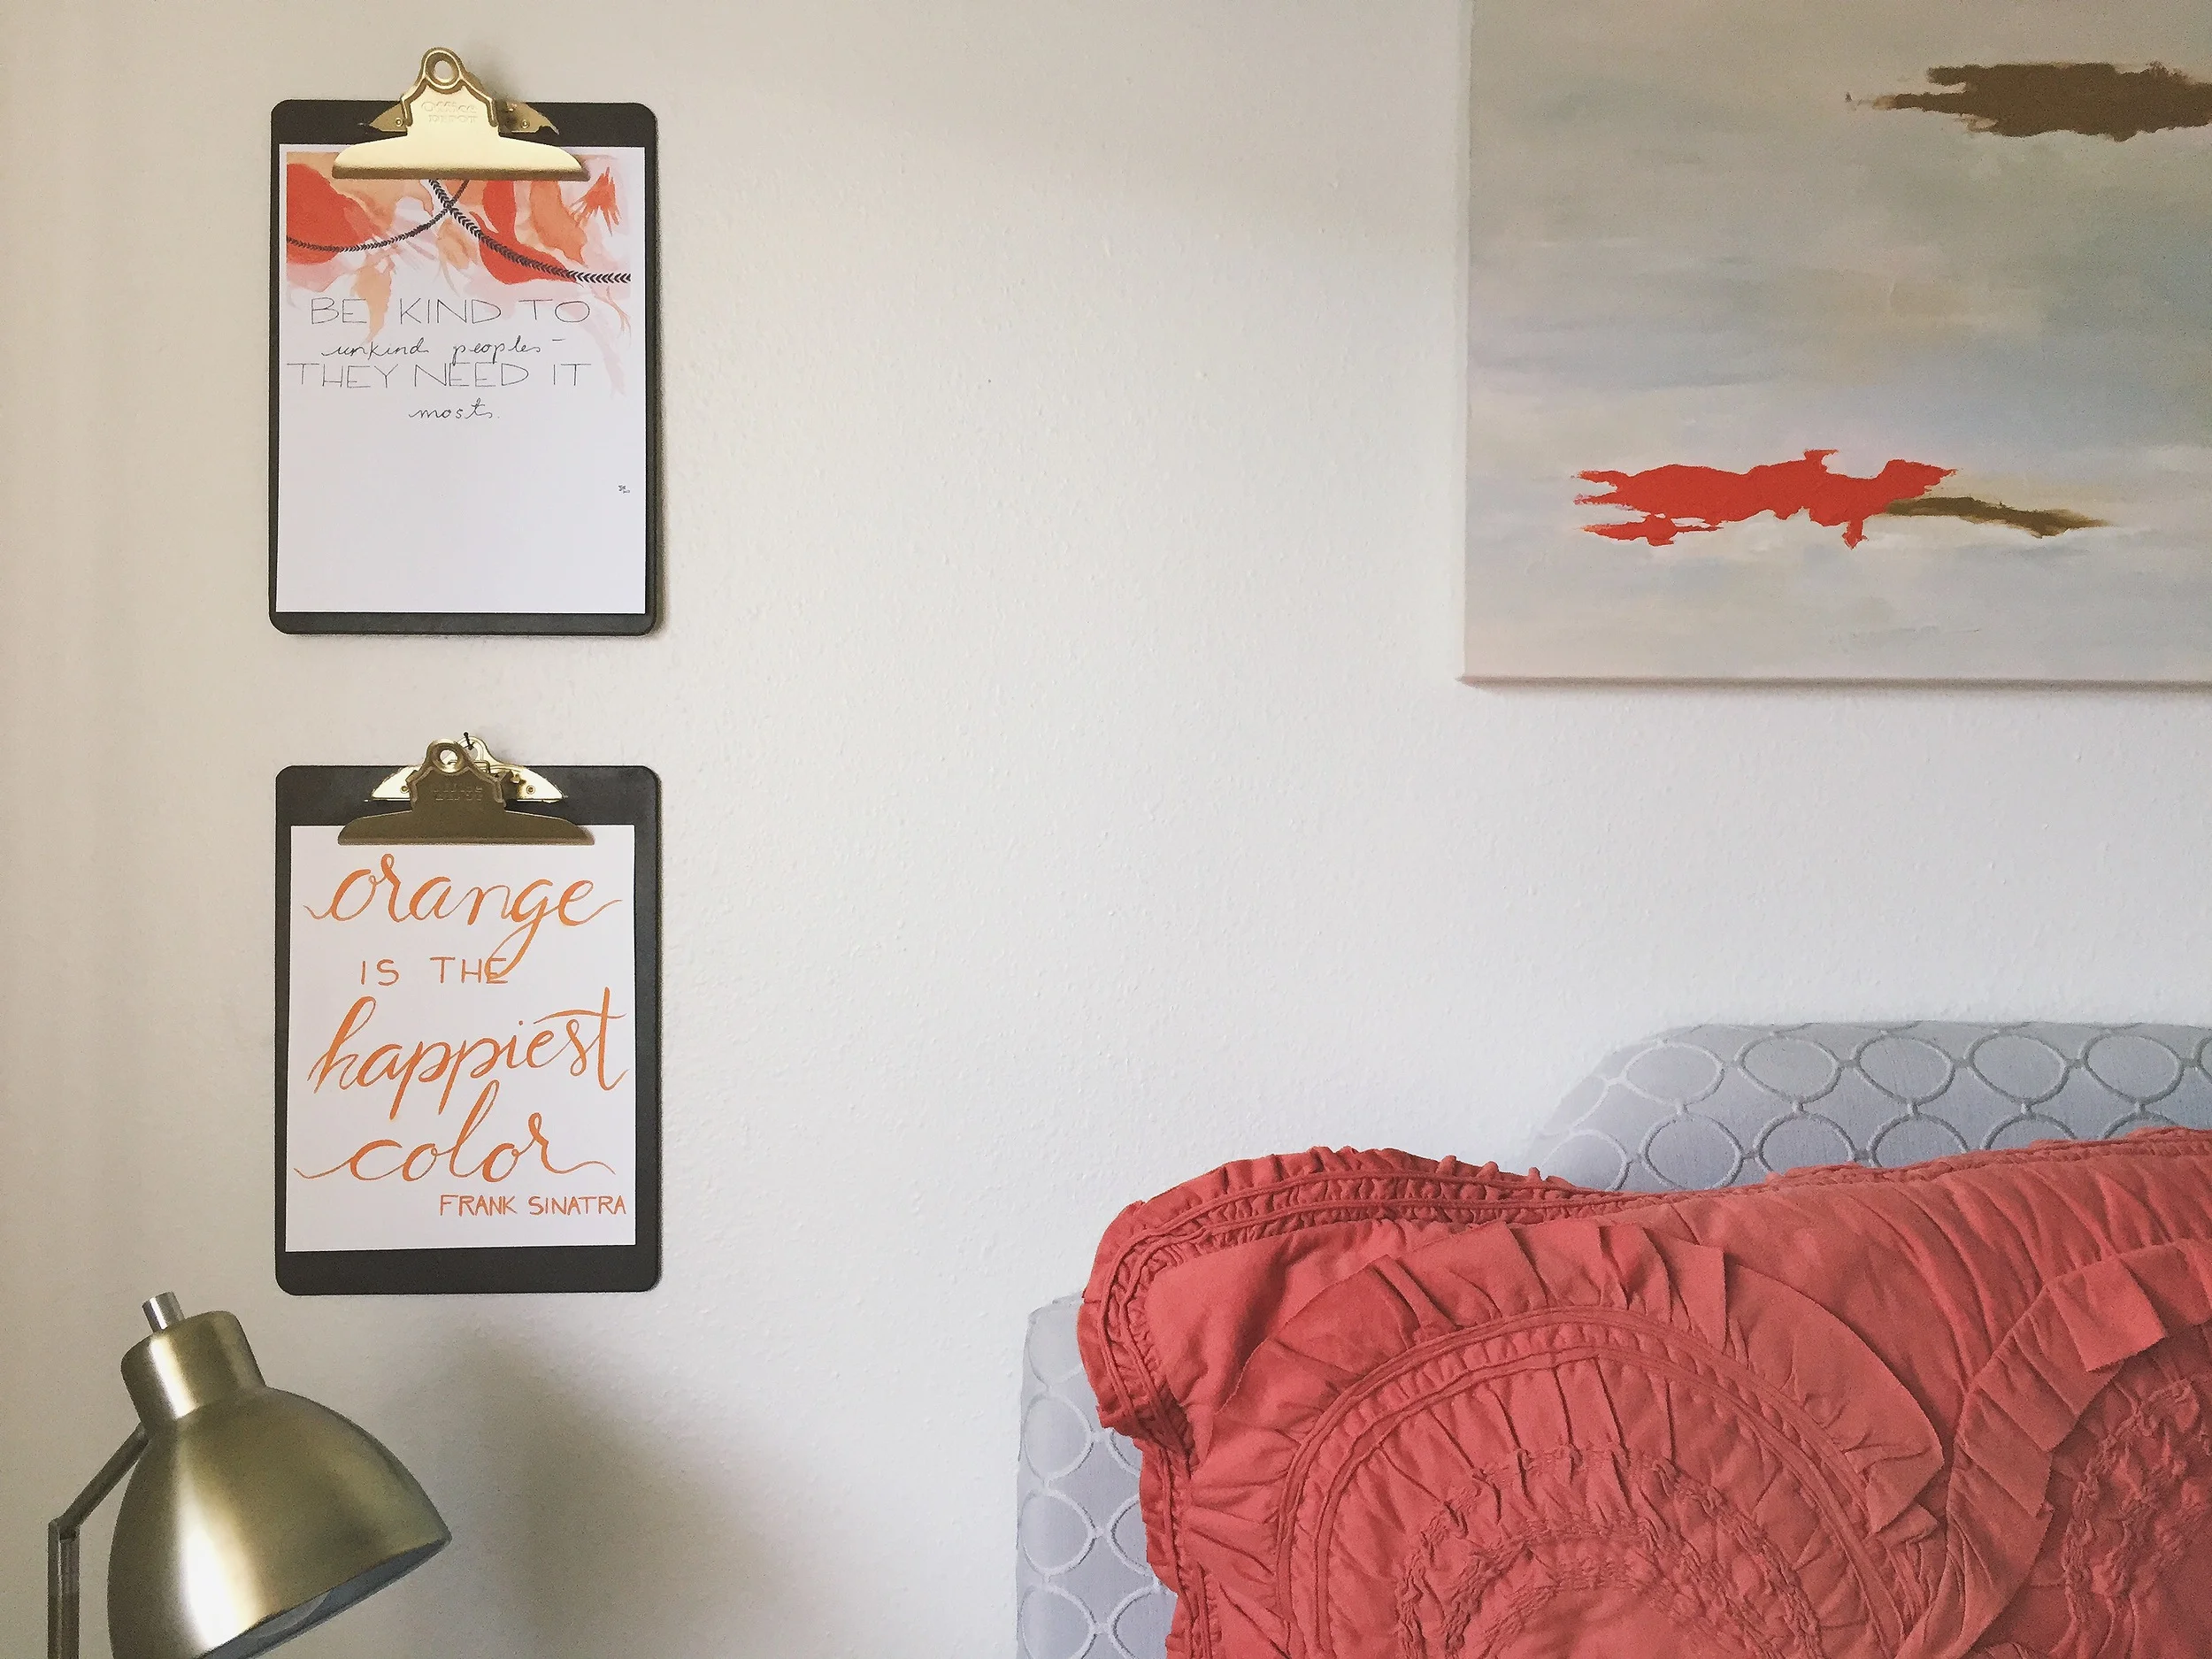
DIY Clipboard Picture Frame

Some of my favorite DIYs include a coat of gold spray paint and this one's no exception. I love the idea of using clip-boards as a no-fuss alternative to a picture frame. No prying up finicky backing clips or wrestling with matting and trying to avoid fingerprints on glass or any of that. Just clip in place and you're done. With a little spray paint and wood stain if you feel so inclined, you've transformed an ordinary office supply into a minimal and truly cool piece of decor.
DIY Clipboard Picture Frame
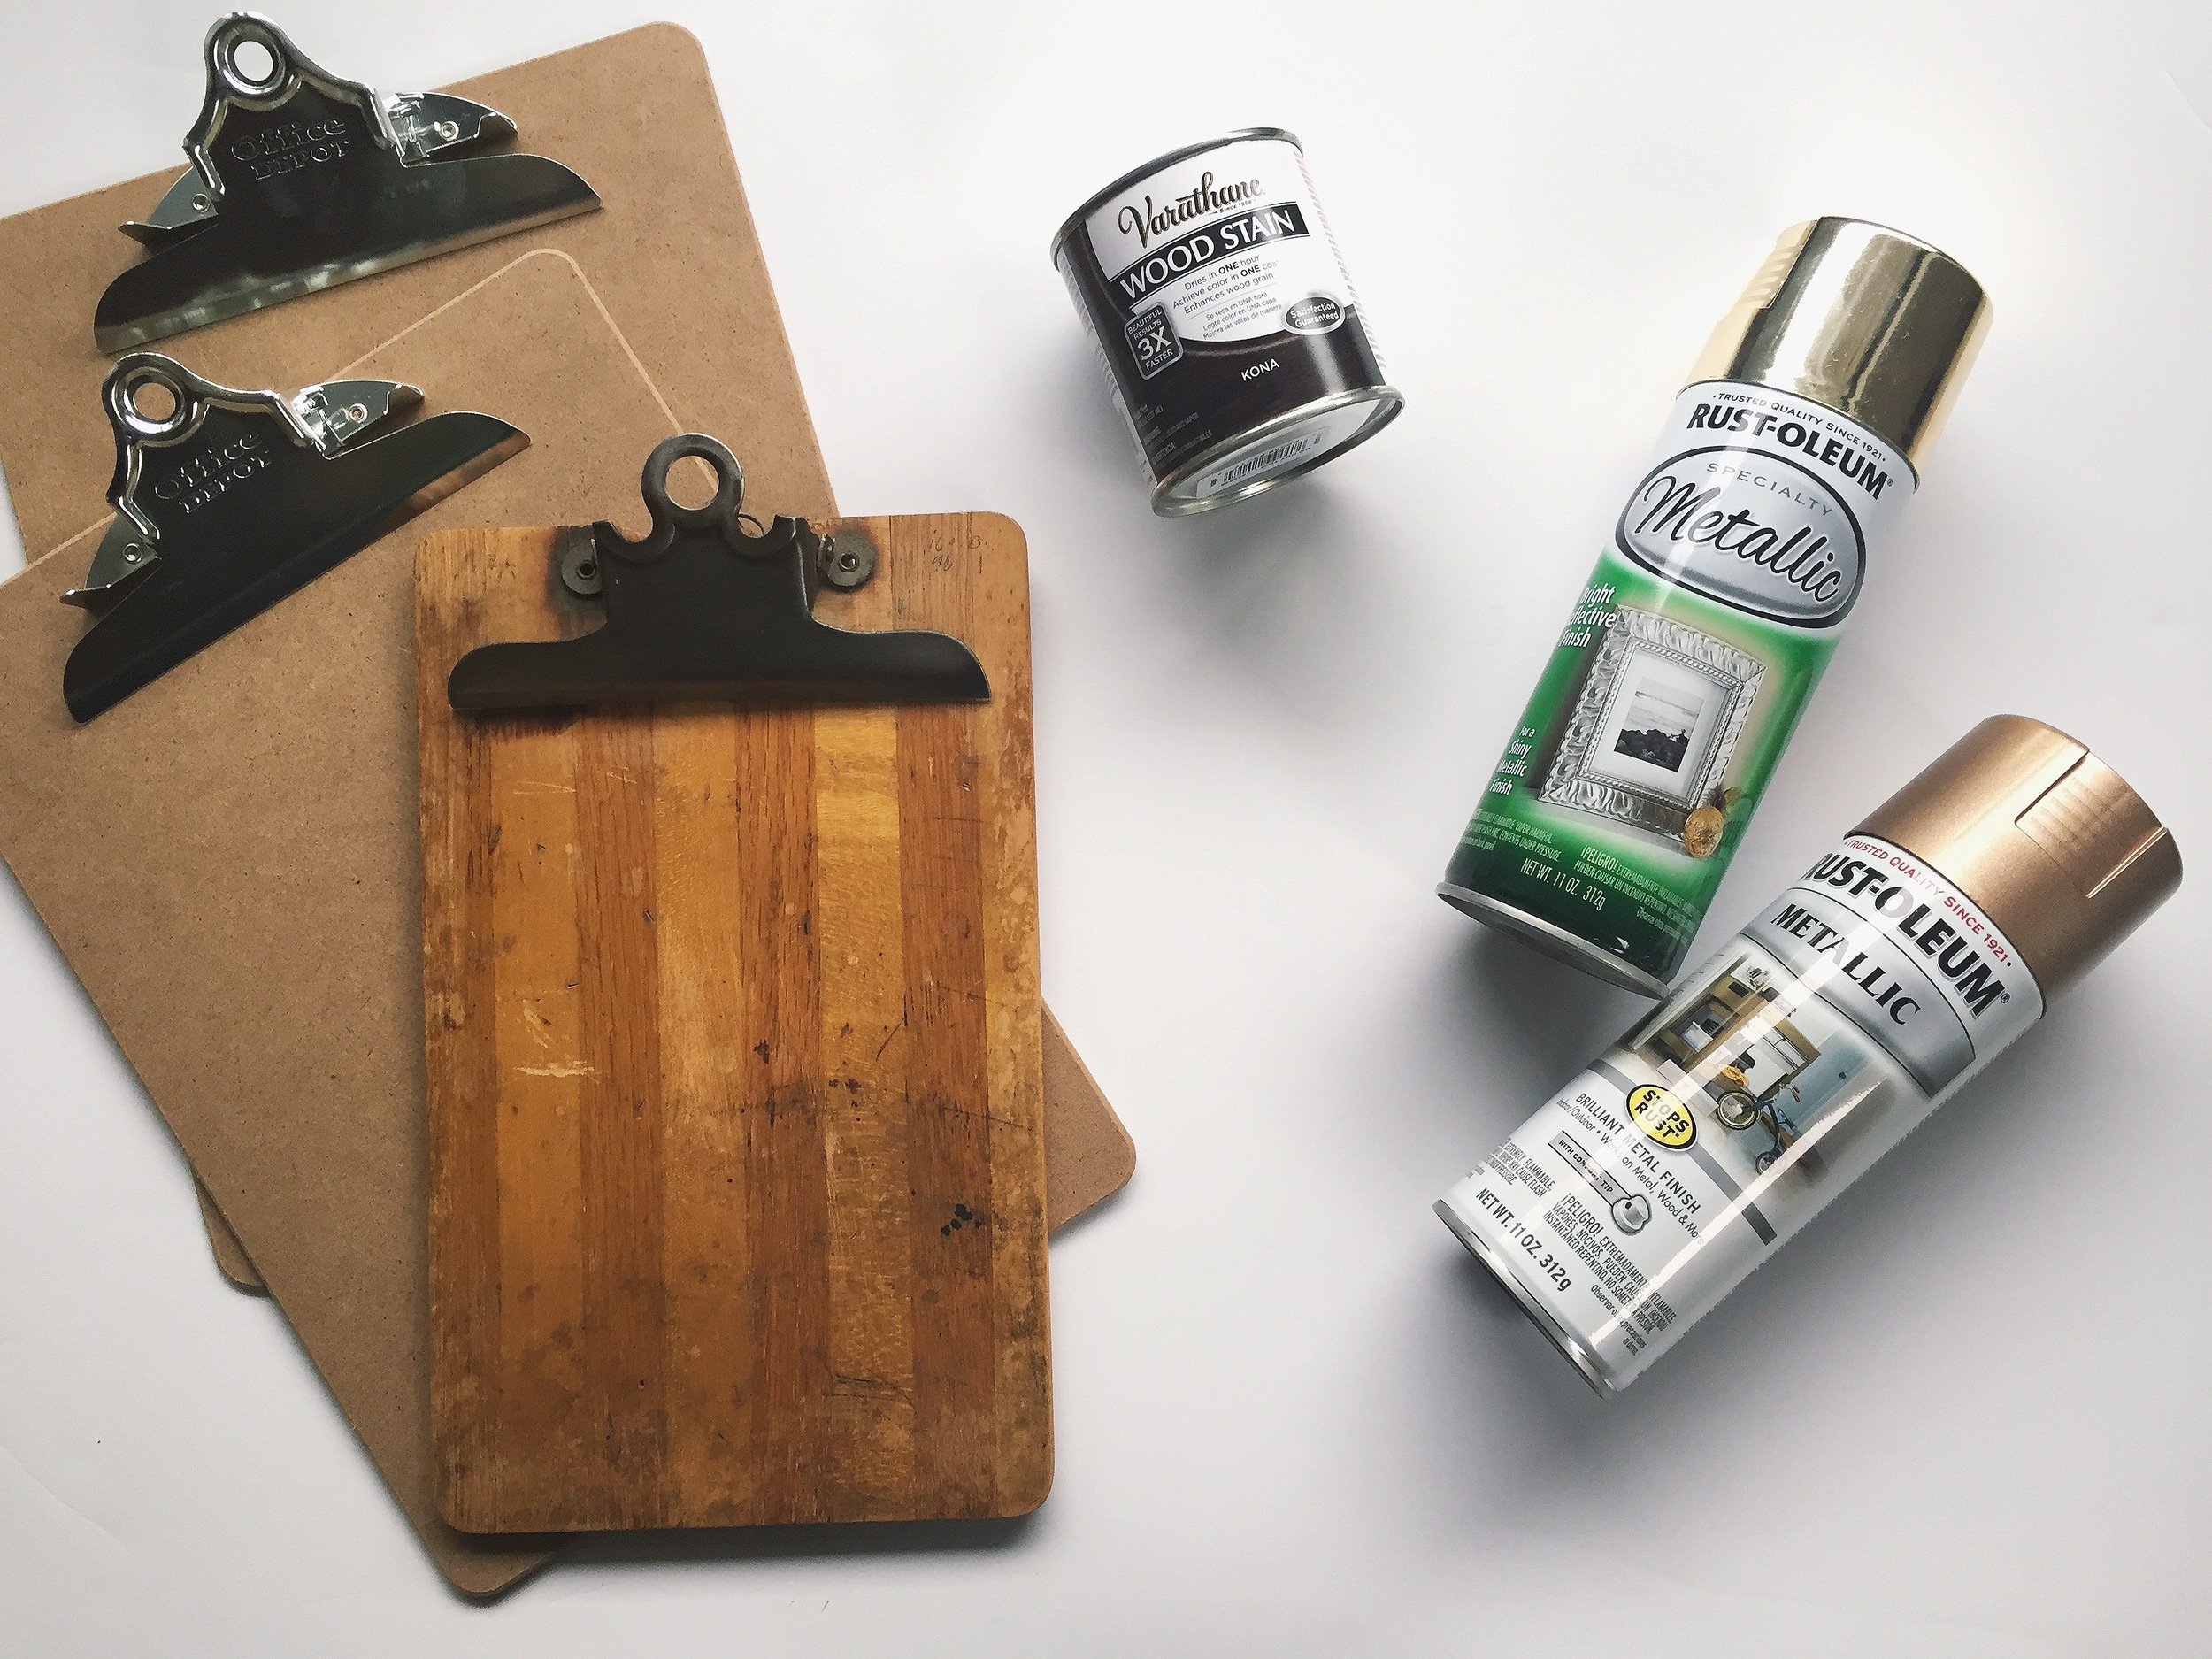
clipboard
gold spray paint
wood stain (optional, I used this one)
masking tape
scrap paper
While the stain is optional, it really elevates the feel of the finished clipboard and makes the gold paint really pop. If using stain, lay out clipboards on your work surface and use an old rag to wipe a small amount of stain all over the wood surface of the clipboard, making sure to apply evenly. It shouldn't take longer than an hour or so to dry. When the stain is dry, cover the board with the scrap paper and masking tape, leaving only the metal clip visible. Spray a light coating of the paint on first and allow to dry about 30 minutes or until no longer tacky then apply a second coat. When the paint is dry, peel off the paper and tape and voila!